|
 |
|

| Title: Making a Floral Name | |
| DelitefulHeartsTags > Cyane / Sharons Avenue > Sharons Tutorials | Go to subcategory: |
| Author | Content |
Sharon2Rusty

|
|
|
Date Posted:03/29/2024 6:03 PMCopy HTML
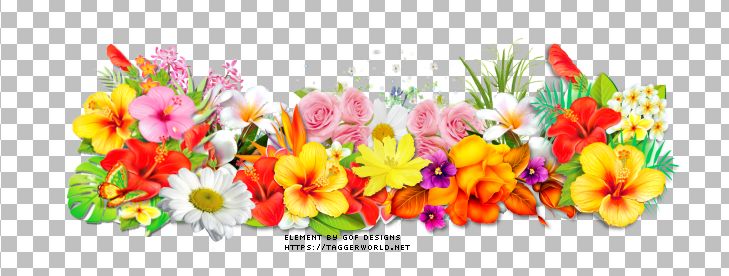
this can be easy or hard to do so instead of typing in lots of words I will post pictures to try and make it go easy for everyone... depends on what you are using in psp, I am going to use pspx6 open up a new piece of paper the longer the name the more you may use so lets go with 800 by 300 we will adjust it at the end.... you can copy and paste this for a excerise if you want if you have some flowers use them... I already copyright the bottom of the kit and owner
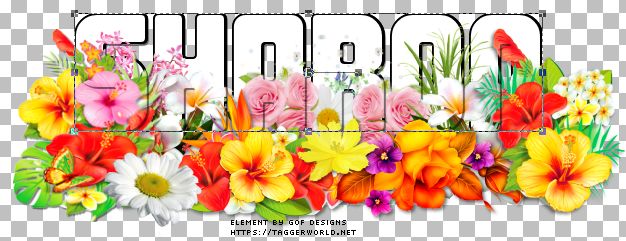
should look like this
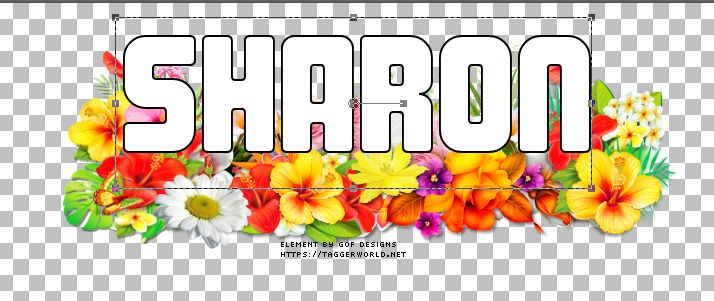
ok we are going to type in a name on top of the flowers lets us a big and fat font I will use Magnum size 60 make a new layer to add the name looks like this now position your name where you want the flowers to cover up the name
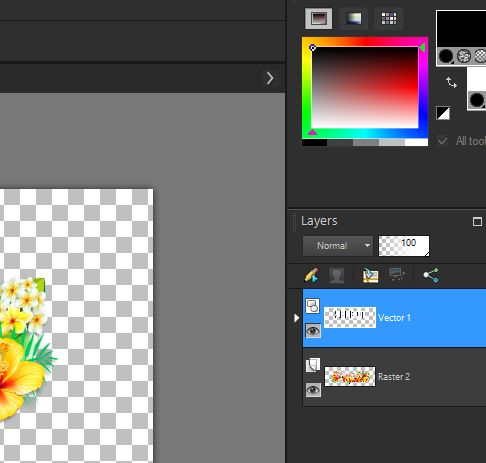
and on the side it should look like this
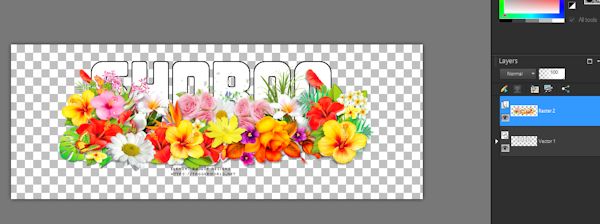
ok now we are going to move the florals on top of the name scroll the mouse over to the last one left click on it it should turn blue, now move it past the name it should look like this now
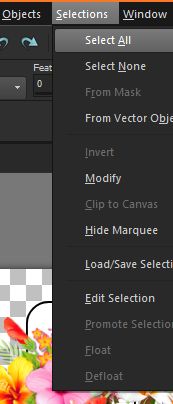
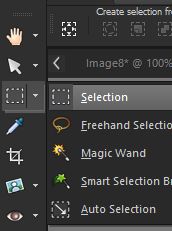
ok now go to click on the name right now the florals are blue just scroll and left click on name now... go to selections select all
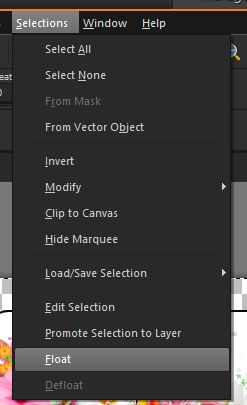
hit selections again then float
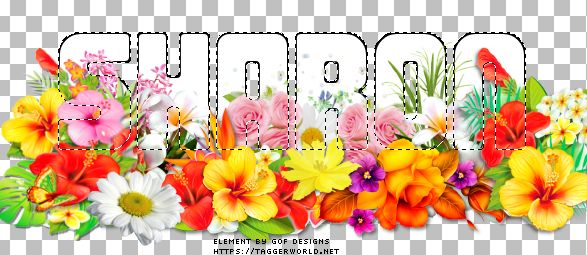
now you should see some marching ants around your name do not be scared it is suppose to be like that
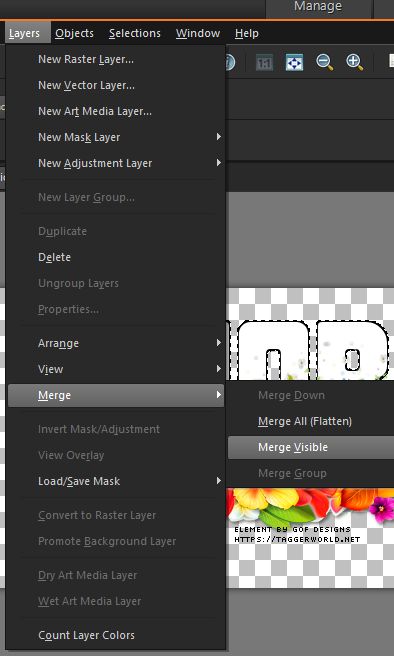
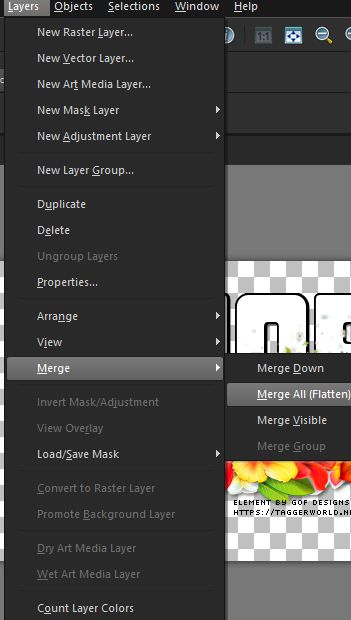
now we are going to merge some of it so go to layers merge merge visible
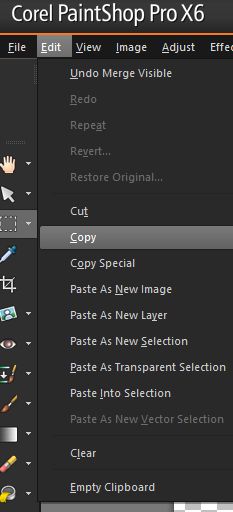
this will make the whole tag come together as one layer now go to Edit Copy
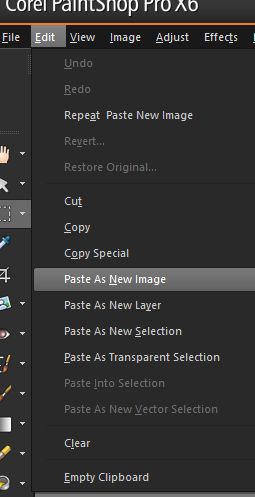
the edit and paste as new image
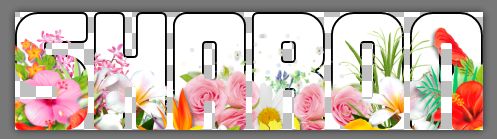
you will see the name with some flowers around it
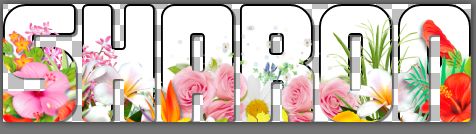
now at this tie you can play with what you got in psp if you have GLASS jazz it up a bit if yiou want to add a shadow you can do that to right now play around and have fun... ok we are just going to do the shadow and go with 2 on both the vertical and horizontal
now hit Edit Copy we are going to go back to the first tag now and place th ename above the the other one oh the marching ants is still on, you can go to edit and hit select none... now go to Edit Add New Layer you will see your name now go to adjust it over the other one hit selections select none
ok if you like what you see you can now save it got o Layers merge merge all either PNG this will give it a clear background or save it JPEG this will give it a white background
and you are done if it is to big go to crop and crop out the existing white
show them off if you want more shadow add more to both side but changing it to like -2 or minus what you are using on the vertical and horizontal
|